
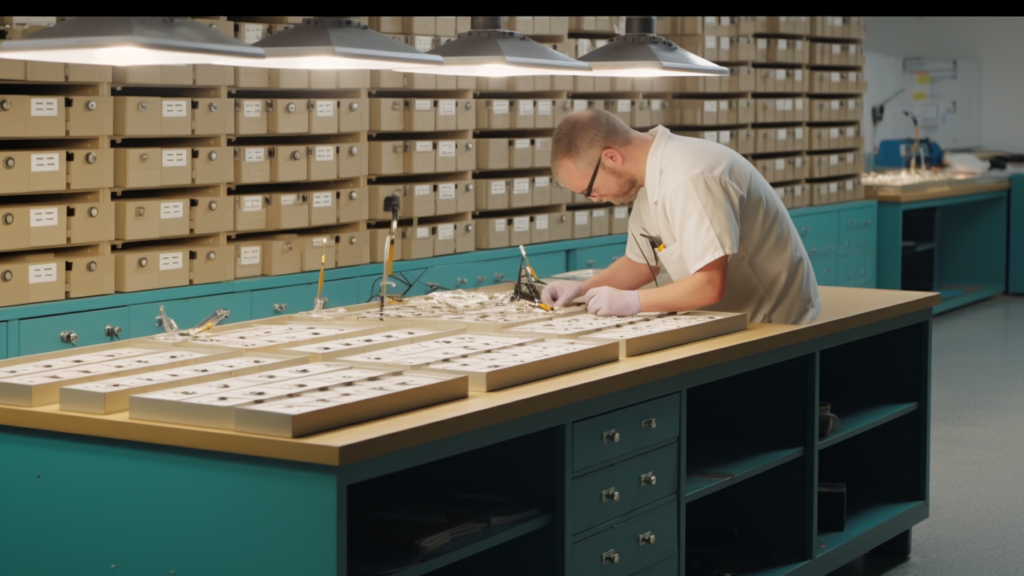
Selecting the best Faraday box for your lab isn’t just about picking a metal enclosure. It’s about matching the box’s features, shielding performance, and size to your testing requirements. Whether you’re in product development, RF diagnostics, or pre-compliance testing, choosing the right enclosure will impact the accuracy and repeatability of your work.
At Ramsey Electronics, we specialize in lab-grade Faraday boxes that support engineers and researchers with high-performance shielding and hands-on usability.
Featured Snippet Answer
To choose the right Faraday box for your lab, evaluate shielding range, box size, glove access, signal pass-throughs, material quality, and the types of wireless devices you plan to test. Look for boxes built with RF-tight seals and verified signal attenuation performance.
Step 1: Define Your Use Case
Start by identifying what kind of testing or isolation you’ll be doing. Are you:
- Debugging wireless protocols (Wi-Fi, BLE, GPS)?
- Evaluating signal leakage or emissions?
- Performing RF security or interference testing?
- Preparing devices for field use or transport?
Different use cases may require different levels of shielding, size, and access.
Step 2: Match the Shielding Performance to the Signal Type
Not all boxes block all signals equally. Confirm that the Faraday box covers the frequencies you need to isolate:
- 2.4 GHz and 5 GHz Wi-Fi
- Cellular signals (3G, 4G, 5G)
- GPS and satellite
- Bluetooth and Zigbee
- RFID and NFC
Ramsey’s Faraday Cage Box provides broadband attenuation across 100 MHz to 6+ GHz—ideal for modern lab requirements.
Step 3: Choose the Right Size and Layout
Ask yourself:
- What are the largest devices I’ll test?
- Will I need space for tools or probes inside the box?
- Will multiple devices or antennas be tested at once?
If your lab space is limited, consider tabletop models with optional shelves or removable panels.
Step 4: Evaluate Access & Usability Features
The best Faraday box balances shielding and usability. Key features to look for:
- Glove ports: Allow real-time device interaction
- View windows: Observe without opening the box
- Filtered USB/power ports: Maintain connections while preserving shielding
- Internal lighting/fans: Keep test conditions stable
- Sturdy latch and seal design: Prevent signal leakage
Ramsey Electronics incorporates all of these elements into our design to support extended lab sessions without compromise.
Step 5: Check Build Quality & Materials
Choose boxes made from:
- High-conductivity aluminum or steel
- RF-sealed gaskets
- Heavy-duty hinges and closures
- EMI-rated filters for cable pass-throughs
Durability matters—especially in labs where boxes are opened dozens of times daily. Our enclosures are built for years of professional use.
Step 6: Consider Expansion and Modularity
Your testing needs may grow. Can your Faraday box:
- Accept additional I/O ports later?
- Be upgraded with internal shelves or lighting?
- Stack or integrate with your lab bench setup?
Ramsey’s modular Faraday solutions are designed to evolve with your testing protocols.
Final Checklist: Choosing the Right Faraday Box
✅ Confirm frequency range
✅ Match size to device type
✅ Ensure hands-on access if needed
✅ Choose lab-grade materials and seals
✅ Verify upgrade and I/O support
✅ Evaluate vendor reputation and reviews
Ramsey Electronics checks every box.
If you’re not sure what size or shielding level you need, contact our engineering team and we’ll help you match the perfect enclosure to your workflow.
Want to understand how these boxes are used in action? Read our previous post on how engineers use Faraday boxes for RF testing.
Explore our full specs and photos on the Faraday Cage Box product page to get started with your lab upgrade.